
Walk-In Shower Remodeling: A Step-by-Step Story of Smart Design and Big Impact
It started with a drip.
Nothing dramatic—just a slow, rhythmic reminder that Sophie and Mark’s bathroom hadn’t been touched since the early 2000s. But what began as a minor leak turned into a full-blown walk-in shower remodel that changed the way they experienced their mornings.
Here’s how they turned a dated, cramped shower stall into a sleek, spa-like retreat, and how you can too—step by step.
Step 1: Identify the Problem (and the Potential)
Sophie and Mark knew they needed a change when they could barely turn around in their fiberglass stall. Cracked tile, old grout, and poor lighting only added to the frustration.
Key Takeaway: Before choosing materials or finishes, define what’s not working. Lack of space? Poor lighting? Water leaks? Start with the real issues.
Step 2: Set a Realistic Budget
They set aside $18,000, with a contingency buffer for surprises (and yes, there were surprises).
Estimated Breakdown:
Demolition and prep: $2,000
Plumbing updates: $3,000
Tile and waterproofing: $5,000
Frameless glass enclosure: $3,500
Fixtures and finishes: $2,500
Labor and contingency: $2,000
Pro Tip: Always budget for the unexpected—a hidden leak behind drywall or outdated plumbing can sneak up on you.
Step 3: Design the Layout with Intention
Sophie wanted a bench. Mark wanted dual showerheads. They both wanted more elbow room.
Their solution:
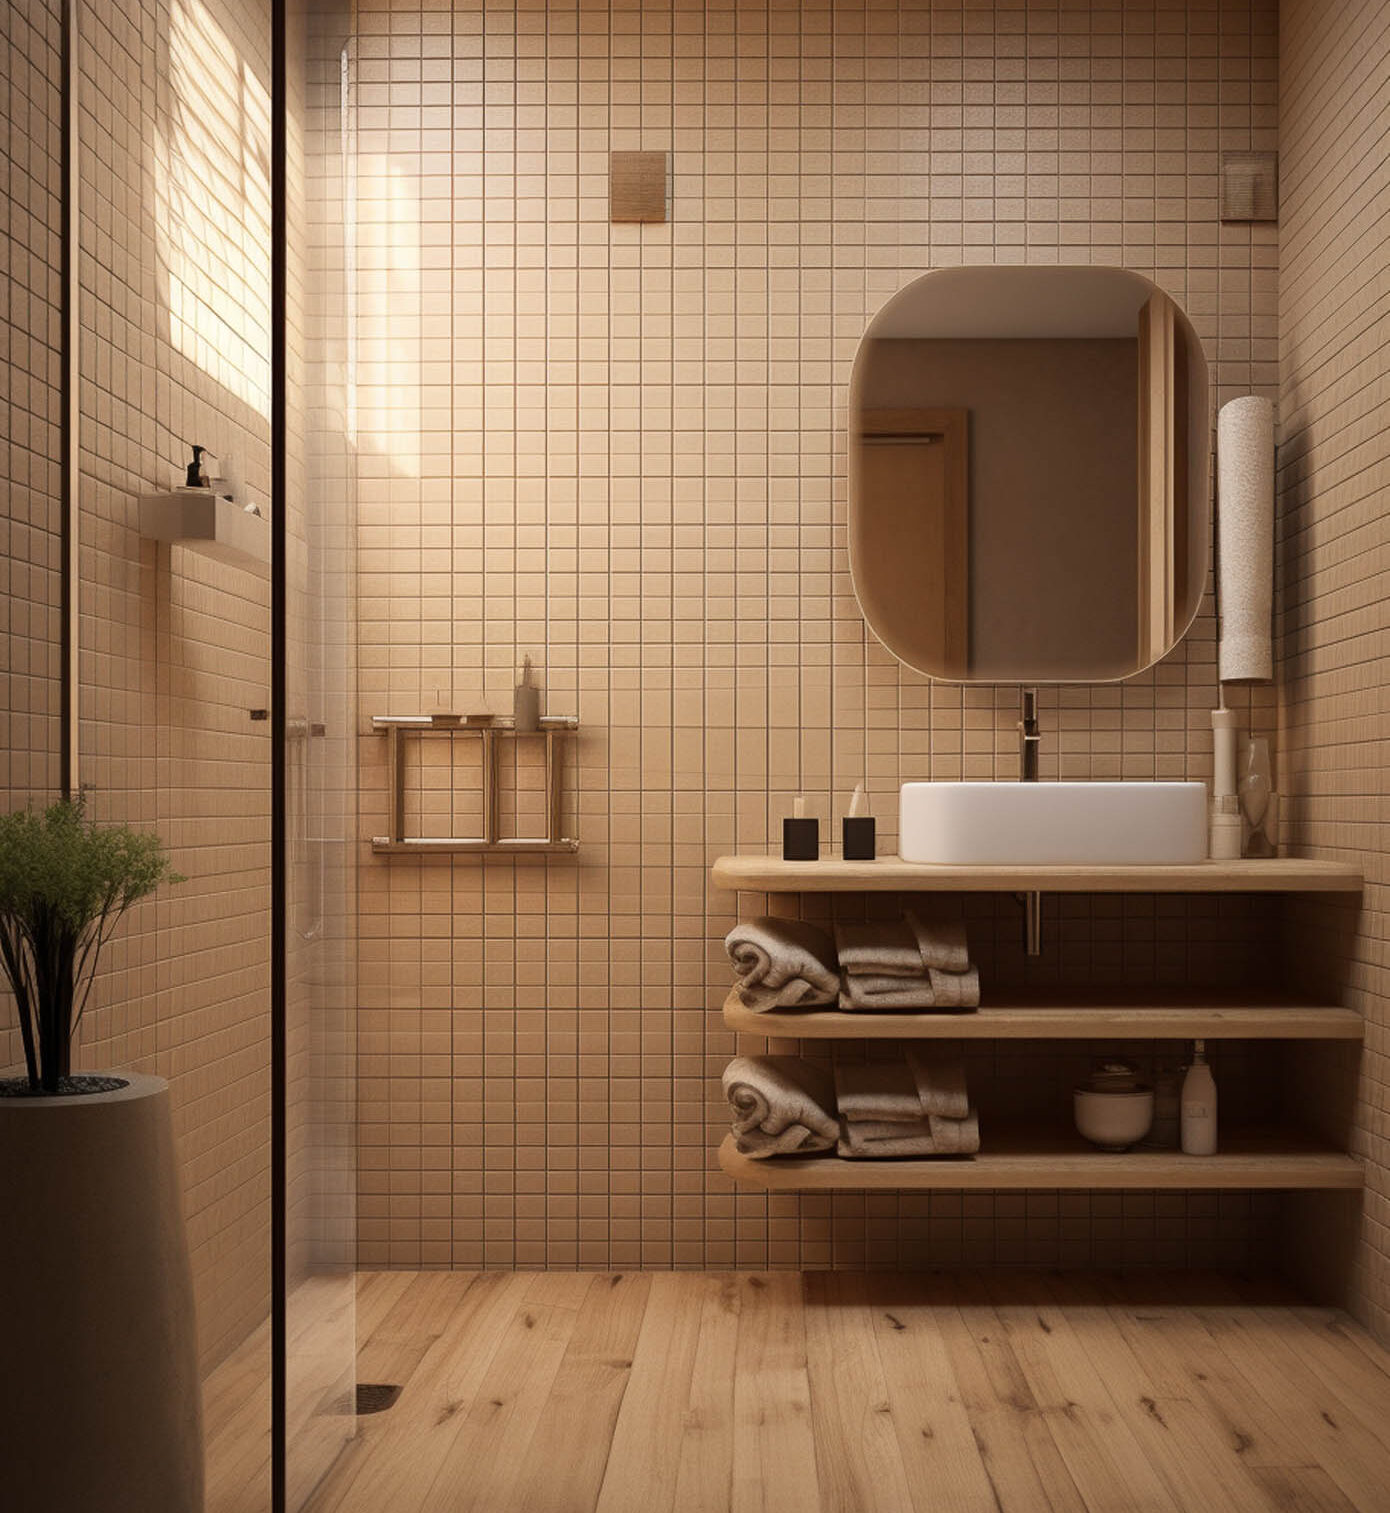
A 60″ x 36″ open walk-in shower
Recessed shelving for shampoo and soaps
A floating bench with built-in support
Rainfall and handheld showerheads for versatility
David’s Design Rule: Make every square foot count. Smart storage and layout upgrades are just as important as style.
Step 4: Choose Materials That Combine Style and Function
They selected:
Large-format matte porcelain tiles for the walls
Pebble mosaic flooring for added texture and grip
Brushed nickel fixtures for timeless appeal
Frameless glass to keep the space open and airy
Why it worked: These materials offered durability, low maintenance, and visual impact—without overwhelming the space.
Step 5: Trust the Process
There were delays. A custom glass panel arrived cracked. A plumbing valve needed replacing. But Sophie and Mark stayed patient.
Lesson Learned: Remodeling isn’t perfect—but the end result is worth every minor delay and tough decision.
Final Thoughts
Sophie and Mark’s walk-in shower remodel wasn’t just a fix for a leak. It was a lifestyle upgrade. With thoughtful design, a clear plan, and a willingness to adapt, they created a space that feels like a spa and functions like a dream.
Call to Action
Planning a walk-in shower remodel? Our team is here to help guide you every step of the way—from design to installation, and every beautiful detail in between.