
Top-Rated Walk-In Shower Designs: Real Home Transformations That Inspire
A walk-in shower can transform your bathroom into a modern, open, and practical retreat — but creating one that fits your space, budget, and style takes smart planning. Whether you’re doing a light refresh or a complete overhaul, this modern walk-in shower concept guide walks you through each stage of the process.
Step 1: Assess Your Bathroom Layout
Before selecting finishes or fixtures, measure your space carefully. Consider:
Existing plumbing locations
Wall structure and window placement
Drain slope and subfloor condition
If your bathroom already has a tub, replacing it with a walk-in shower is often the most efficient conversion.
Step 2: Choose Your Design Style
Walk-in showers come in a variety of layouts and materials.
| Design Type | Description | Ideal For |
|---|---|---|
| Corner Enclosure | Compact glass or tile units | Small bathrooms |
| Alcove Layout | Replaces tubs easily | Traditional remodels |
| Open “Wet Room” Style | No doors or thresholds | Modern, spacious layouts |
| Curbless Entry | Barrier-free access | Universal design |
Modern bathrooms often combine neutral color palettes with bold accents like matte black fixtures or textured tile.

Step 3: Pick the Right Materials
Durability and maintenance are key. Focus on:
Tile: Porcelain or ceramic for longevity and style variety
Glass: Frameless for a clean, open feel
Fixtures: Stainless steel or brushed nickel for corrosion resistance
Flooring: Slip-resistant tile or textured stone
These materials provide a balance of safety, function, and aesthetics — all central to modern remodeling standards.
Step 4: Understand the Cost Breakdown
Your total investment depends on size, material, and labor.
| Project Scope | Average Cost |
|---|---|
| Basic Remodel (Tile + Glass) | $7,000–$10,000 |
| Mid-Range (Custom Tile, Built-in Niche) | $11,000–$15,000 |
| Luxury (Natural Stone, Lighting, Seating) | $16,000–$25,000+ |
If replacing an old enclosure, factor in your shower replacement cost, which varies by region and plumbing complexity.
Step 5: Plan for Functionality
A walk-in shower should feel beautiful and effortless to use. Include:
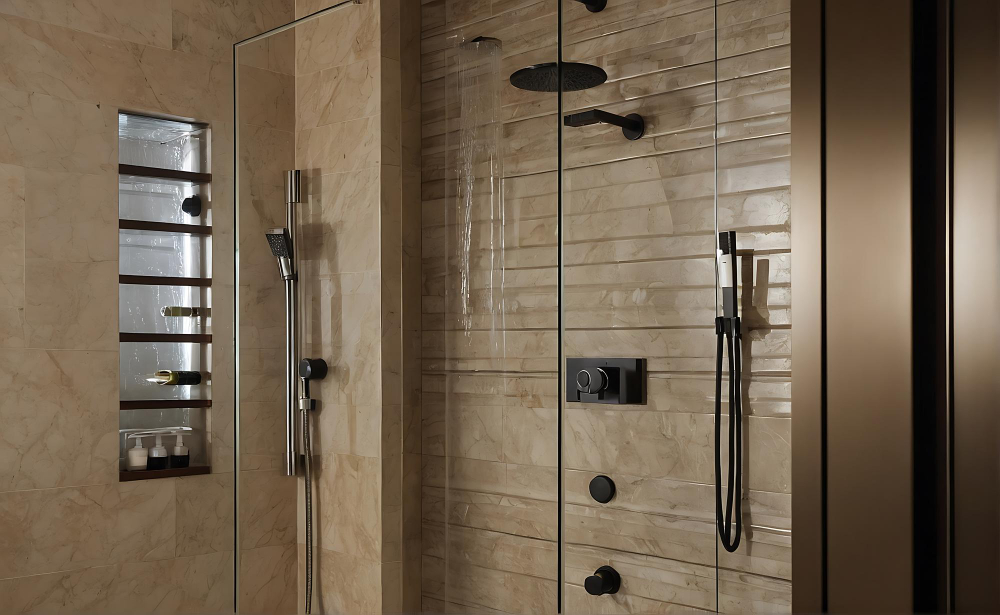
A recessed niche or corner shelf
Bench seating or a floating slab
Dual showerheads or rainfall fixtures
Adequate lighting for mood and visibility
Even small upgrades, like linear drains or heated floors, can enhance comfort and value.
Step 6: Hire Professionals for Installation
While some DIY enthusiasts tackle tile work, most homeowners benefit from hiring a licensed remodeler. A professional ensures:
Proper waterproofing and drainage
Accurate slope for curbless entries
Code compliance and safety assurance
Look for contractors experienced with modern bathrooms — especially those skilled in tile alignment and precision detailing.
Step 7: Inspect and Maintain
Once complete, seal grout lines and wipe down glass regularly to preserve that just-finished look. Annual inspections help catch minor issues before they become costly repairs.
Homeowner’s Checklist
✔ Measure and evaluate your space
✔ Choose your design and materials
✔ Get quotes and finalize your budget
✔ Schedule licensed installation
✔ Maintain your new shower for lasting value
Builder’s Notes
A walk-in shower is one of the smartest upgrades you can make — balancing everyday function with lasting beauty. With a clear plan and professional installation, your remodel can deliver luxury, accessibility, and value in every square foot.
👉 Start with design inspiration, material samples, and a detailed consultation to turn your vision into a custom shower that’s built to last.