
From Cramped to Clever: How Smart Remodeling Changed a Sacramento Home One Cabinet at a Time
When I got the call from Derek and Nina in Sacramento, I knew right away what the real issue was—space. Or more accurately, how badly the space they had was being used.
“We don’t need a bigger house,” Nina said. “We just need the one we have to finally make sense.”
And she was right.
Their kitchen was small. Not unlivable, not falling apart—but tight, inefficient, and dated. Sound familiar?
If you’re considering Sacramento remodeling, this story might hit home. Here’s how we got their kitchen from cramped to clever—step by step, with a big assist from one overlooked solution: kitchenette cabinets.
🔧 Step 1: Diagnose the Real Pain Points
Too often, people jump straight to the fun stuff—backsplashes, colors, faucets—without asking: what’s driving me crazy every day?
For Derek and Nina, it was:
No prep space
Upper cabinets they couldn’t reach
One drawer that always jammed
A fridge door that blocked the main walkway
None of it was a disaster. But all of it added up.
🔧 Step 2: Rethink the Layout—Start Small
Instead of blowing out walls or chasing an open concept, we started with micro-efficiency.
They didn’t need a massive island.
They needed a mini work zone—a prep and coffee bar combo off to the side, tucked into an unused wall.
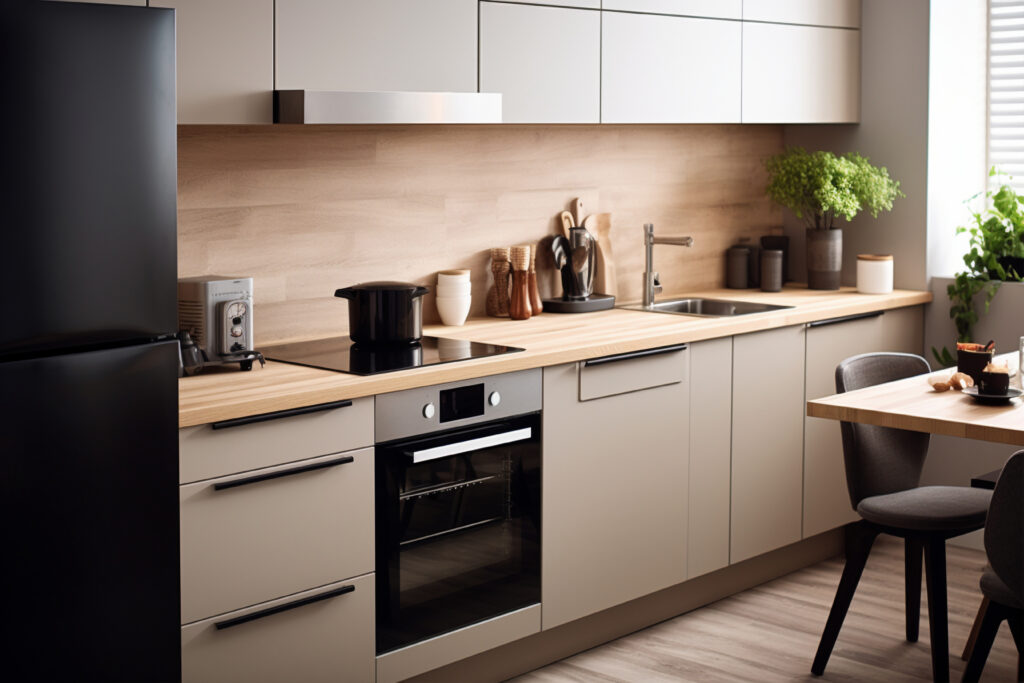
We carved out a 5-foot stretch and installed sleek kitchenette cabinets in a soft gray finish. Shallow drawers, vertical dividers, a slim pantry pull-out. Hidden outlets for appliances. Boom—instant functionality.
🔧 Step 3: Keep Materials Tight, Not Cheap
A lot of people think “small” means “basic.” Nope.
We still used high-quality finishes:
Soft-close hinges
Moisture-resistant interior panels
Under-cabinet lighting
Quartz countertop with waterfall edge for a luxe touch
This tiny addition became their most-used zone—and a major visual win.
🔧 Step 4: Update the Main Kitchen Around It
With the new kitchenette in place, we could breathe a little life into the main kitchen:
Shifted appliance placement for better flow
Replaced old uppers with deeper, lower-installed units
Matched the kitchenette cabinets for consistency across the space
No trendy gimmicks—just smart storage, modern lighting, and materials built to last.
🔧 Step 5: Finish with Function in Mind
Every element had a reason:
Toe-kick drawers = bonus storage
Lazy Susan corner = full access
Trash and recycling built into the new kitchenette = no more ugly bins
“It’s like we got a new kitchen and a butler’s pantry,” Derek said.
“And it’s still under 150 square feet.”
✅ Mike’s Takeaway: Small Doesn’t Mean Simple
This remodel didn’t make the house bigger—but it made it smarter.
That’s the lesson. You don’t need to knock down walls or start from scratch.
Sometimes, all you need is a few well-placed kitchenette cabinets and the right plan.
If you’re ready to make your space finally work for you, start with what matters:
Storage
Layout
Longevity
And as always—build it right, or don’t build it at all.