Why Quartz Surface Countertop Contractor in Dalton Gardens ID Is a Smart Investment
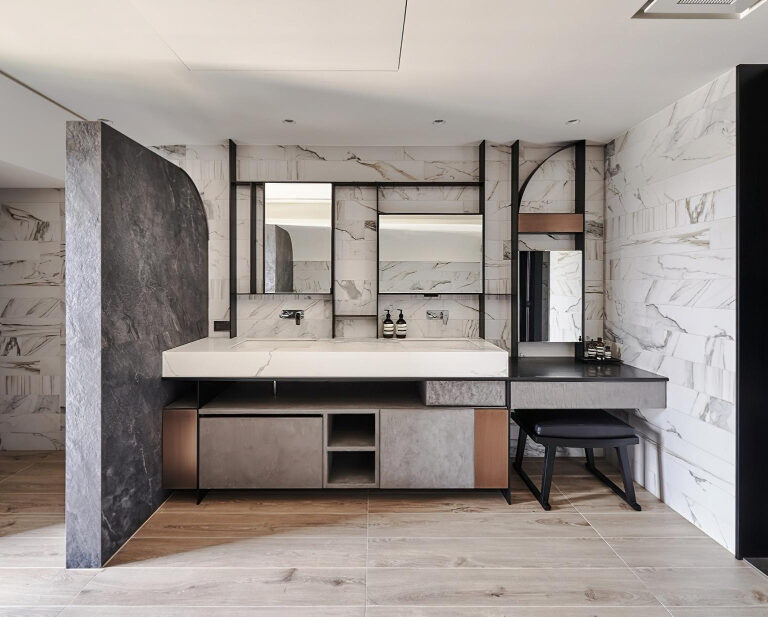
Upgrading your kitchen or bathroom surfaces can dramatically improve both style and functionality. Working with a Quartz Surface Countertop Contractor in Dalton Gardens ID is one of the most effective ways to achieve a modern, durable, and low-maintenance upgrade. Quartz countertops have become a top choice among homeowners due to their strength, versatility, and elegant appearance.
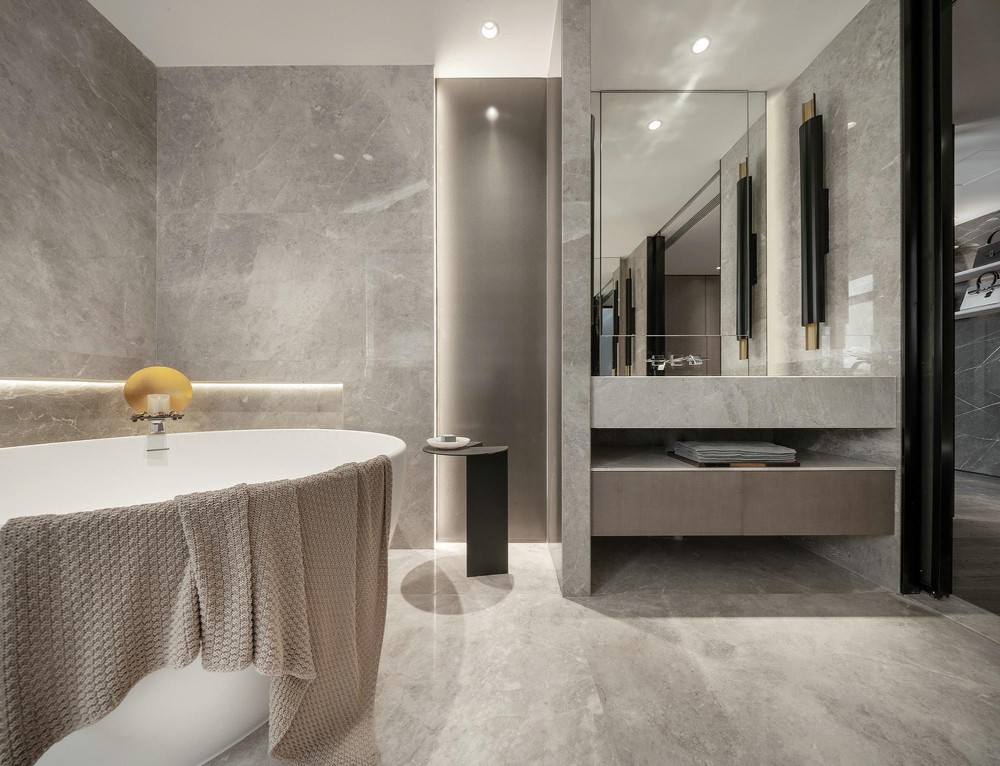
Unlike natural stone, quartz is engineered to deliver consistent quality and enhanced durability. Whether you’re remodeling your kitchen or updating a bathroom vanity, quartz surfaces provide a long-lasting solution that balances beauty with performance.
What Makes Quartz Countertops Unique?
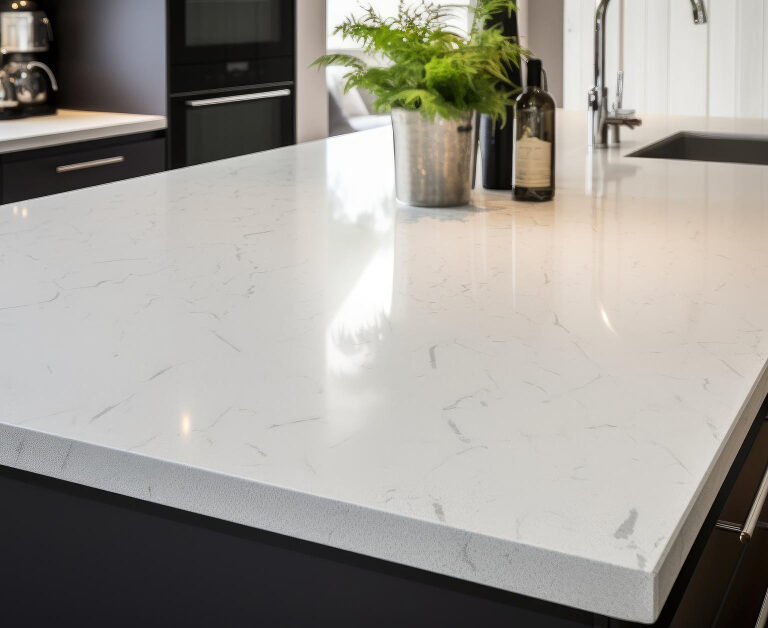
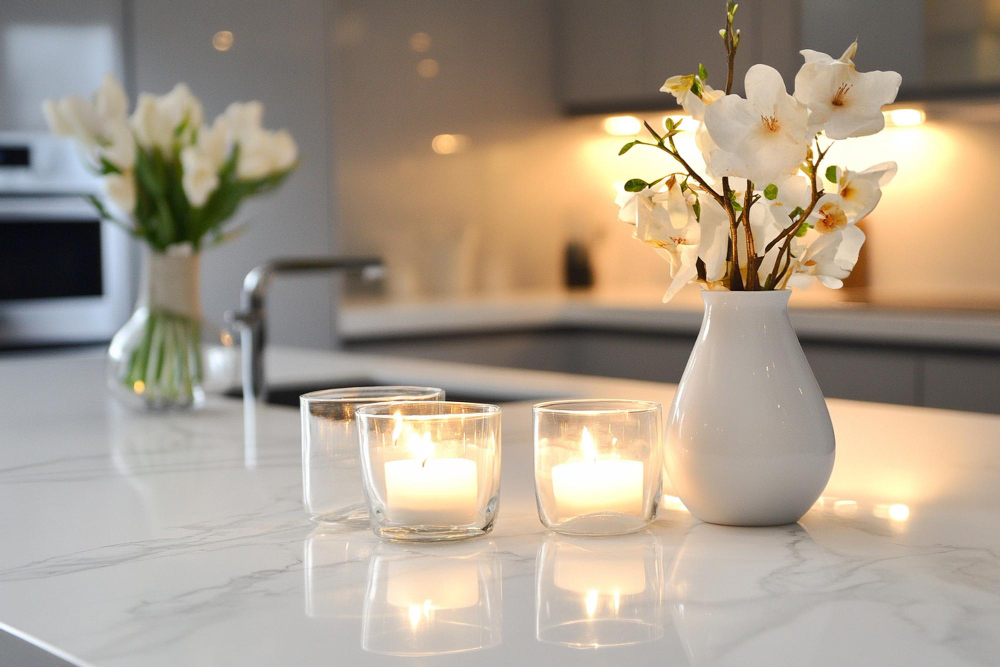
Quartz countertops are made from a combination of natural quartz crystals and resins, resulting in a non-porous surface that resists stains, scratches, and bacteria. This makes them ideal for high-traffic areas like kitchens and bathrooms.
A professional Quartz Surface Countertop Contractor in Dalton Gardens ID ensures proper fabrication and installation, which is essential for achieving a seamless and polished look.
Key Features of Quartz Surfaces:
- Non-porous and highly resistant to stains
- Low maintenance with no sealing required
- Wide variety of colors and patterns
- Durable and scratch-resistant surface
Benefits of Hiring a Professional Contractor
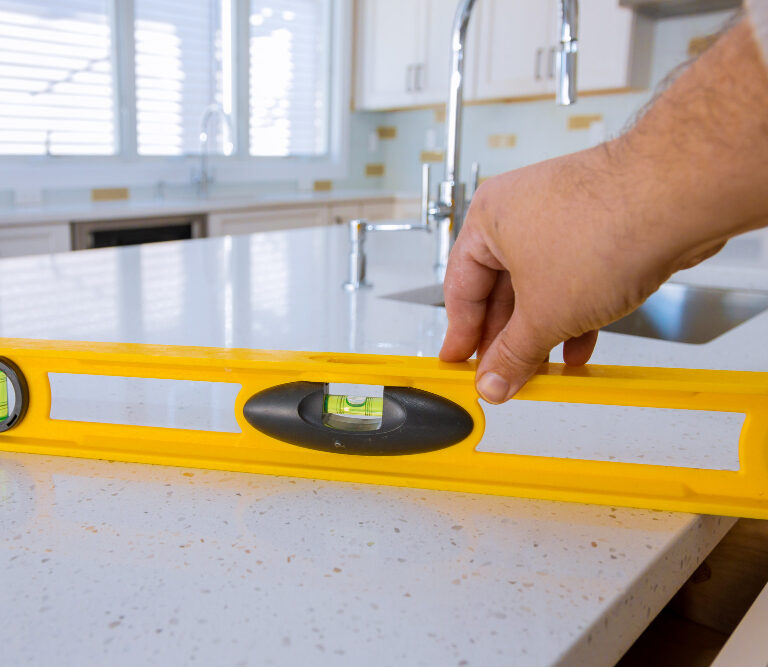
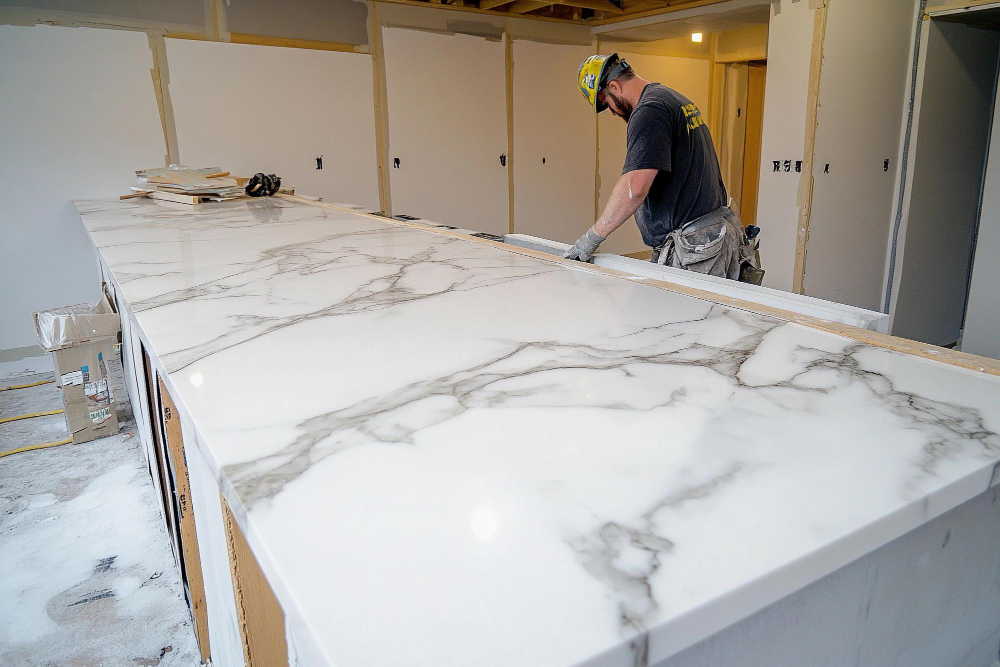
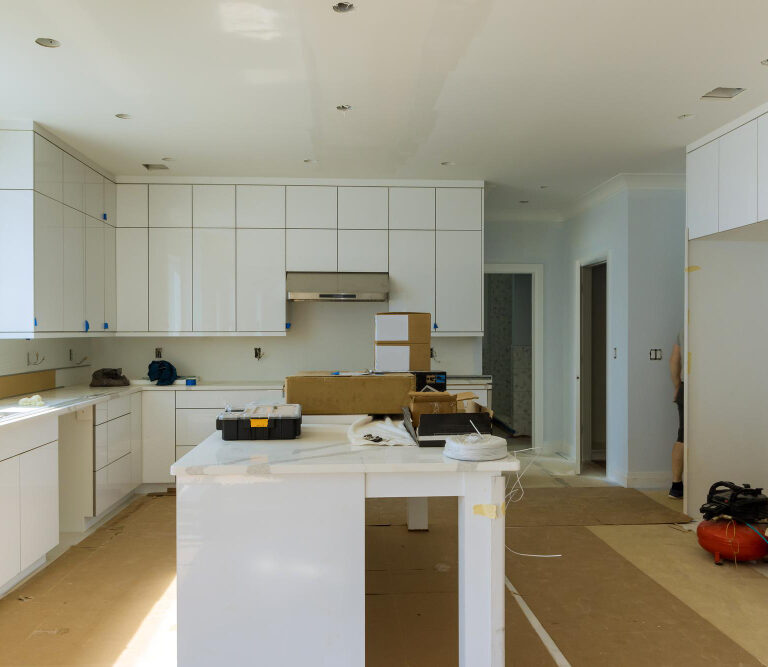
While quartz countertops are known for their durability, proper installation is critical to maximizing their lifespan. A skilled Quartz Surface Countertop Contractor in Dalton Gardens ID will handle precise measurements, cutting, and finishing to ensure a perfect fit.
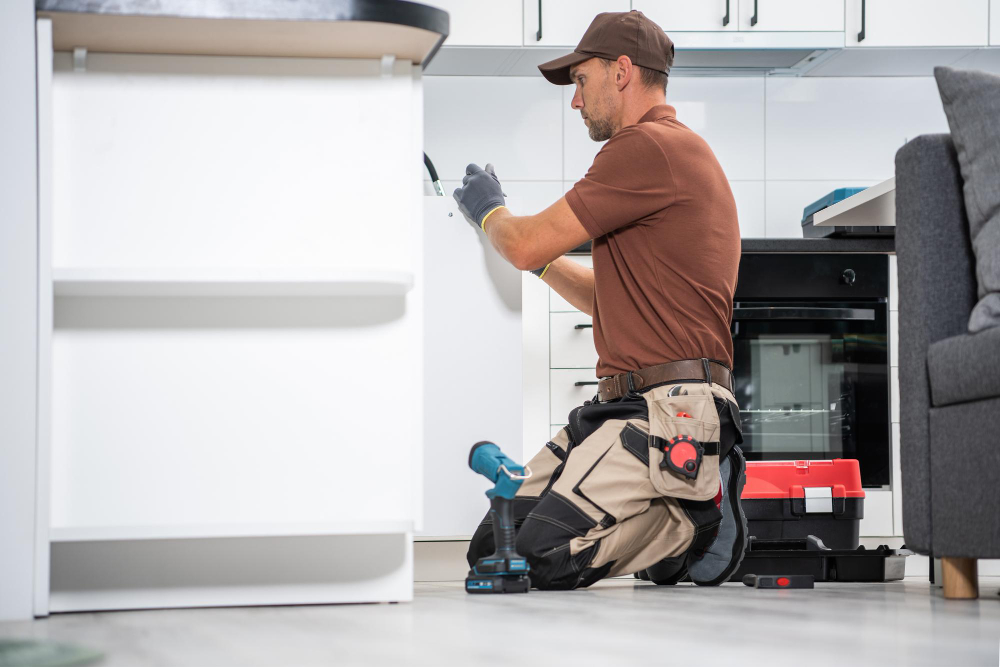
Professional contractors also manage the entire process, from selecting materials to final installation, ensuring consistency and quality throughout the project.
Design Flexibility for Modern Homes
One of the biggest advantages of quartz is its design versatility. Whether you prefer a sleek, contemporary look or a more traditional aesthetic, quartz can be customized to match your style.
From waterfall edges to integrated backsplashes, quartz surfaces allow for creative design solutions that elevate the overall appearance of your space.
Comparing Quartz to Other Countertop Materials
When choosing a countertop material, homeowners often compare quartz with granite, marble, and laminate. Each material has its pros and cons, but quartz stands out for its balance of durability and ease of maintenance.
Quartz vs. Granite:
- Quartz requires less maintenance
- Granite offers natural variation but needs sealing
Quartz vs. Marble:
- Quartz is more resistant to stains and scratches
- Marble offers a luxurious look but is more delicate
These comparisons highlight why quartz is often the preferred choice for modern remodeling projects.
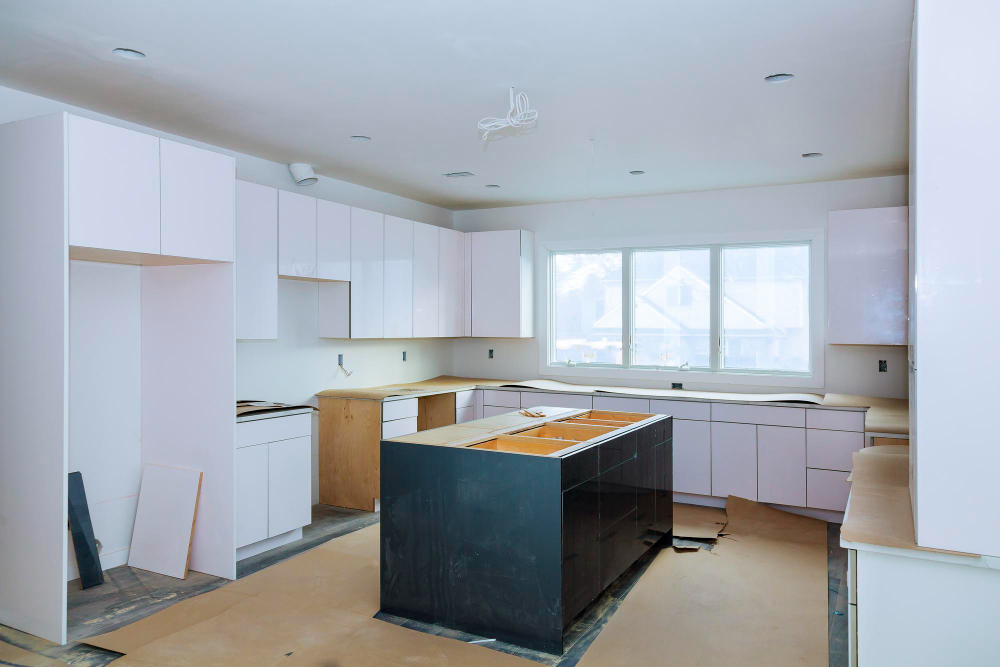
Installation Process Explained
Installing quartz countertops involves several precise steps. A professional contractor ensures each phase is completed accurately:
- Measuring and templating the space
- Cutting and fabricating quartz slabs
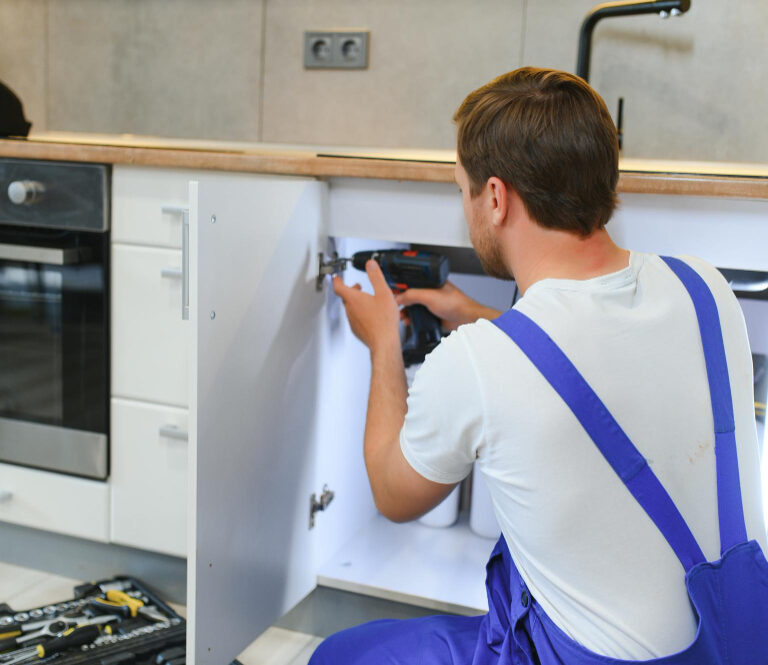
- Preparing cabinets for installation
- Installing and securing countertops
- Sealing seams and finishing edges
Working with a trusted home remodeling experts in Dalton Gardens ID guarantees that every detail is handled with precision and care.
Common Mistakes to Avoid
Even though quartz is durable, improper handling or installation can lead to issues. Avoid these common mistakes:
- Choosing inexperienced contractors
- Ignoring proper support for heavy slabs
- Overlooking edge finishing details
- Using harsh chemicals that damage the surface
Proper care and professional installation ensure your countertops remain in excellent condition for years.
Boosting Home Value with Quartz Countertops
Quartz countertops are a desirable feature for homebuyers. Their durability, low maintenance, and modern appearance make them a valuable addition to any home.
Investing in a Quartz Surface Countertop Contractor in Dalton Gardens ID enhances both your daily living experience and your property’s resale potential.
Final Thoughts: A Durable and Stylish Upgrade
Choosing quartz countertops is a smart decision for homeowners seeking a balance of beauty and practicality. By working with a Quartz Surface Countertop Contractor in Dalton Gardens ID, you ensure your investment is installed correctly and designed to last.
With expert craftsmanship and high-quality materials, quartz surfaces provide a timeless upgrade that enhances any kitchen or bathroom. It’s a long-term solution that delivers both style and performance.